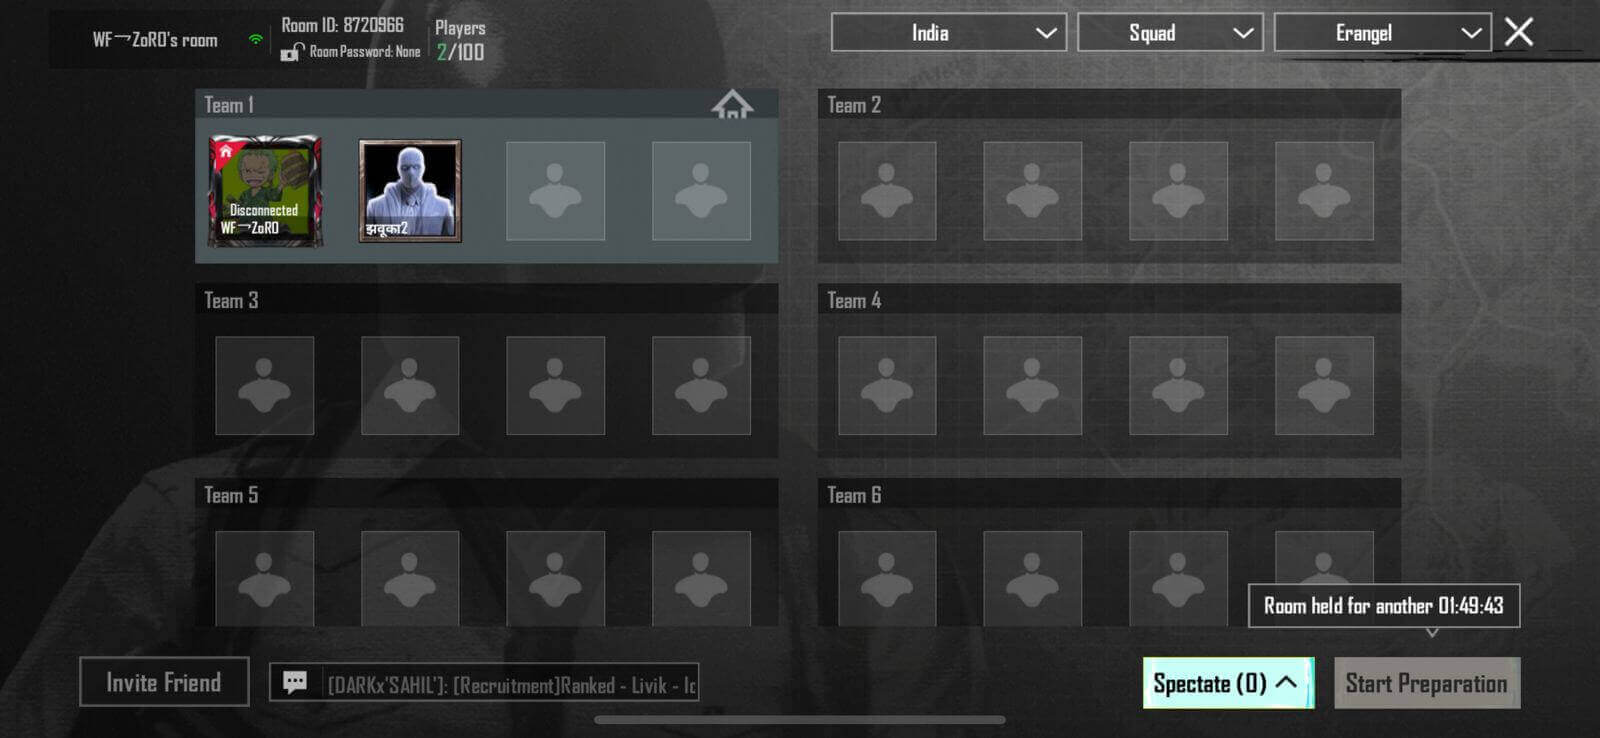
Battlegrounds Mobile India (BGMI) offers an exciting way for players to compete with friends and squads through Custom Rooms. BGMI Custom Room lets you set up private matches with specific rules, maps, and participants. Whether you’re hosting a private tournament or simply want to enjoy a casual game with your friends, Custom Rooms make the BGMI experience more personalized and fun.
Step-by-Step Guide to Create a BGMI Custom Room
Creating a custom room in BGMI requires a Room Card, available through purchases, in-game rewards, or specific events. Here’s how you can create one:
Step 1: Obtain a Room Card
To create a custom room, you need a Room Card. Here’s how to get one:
- Elite Royale Pass Rewards: Room Cards are often included in the rewards of the Elite Royale Pass.
- Clan Shop: You can redeem Room Cards using Clan Points.
- In-App Purchases: Some Room Cards can be directly bought from the in-game store.
Make sure to have enough Room Cards before proceeding.
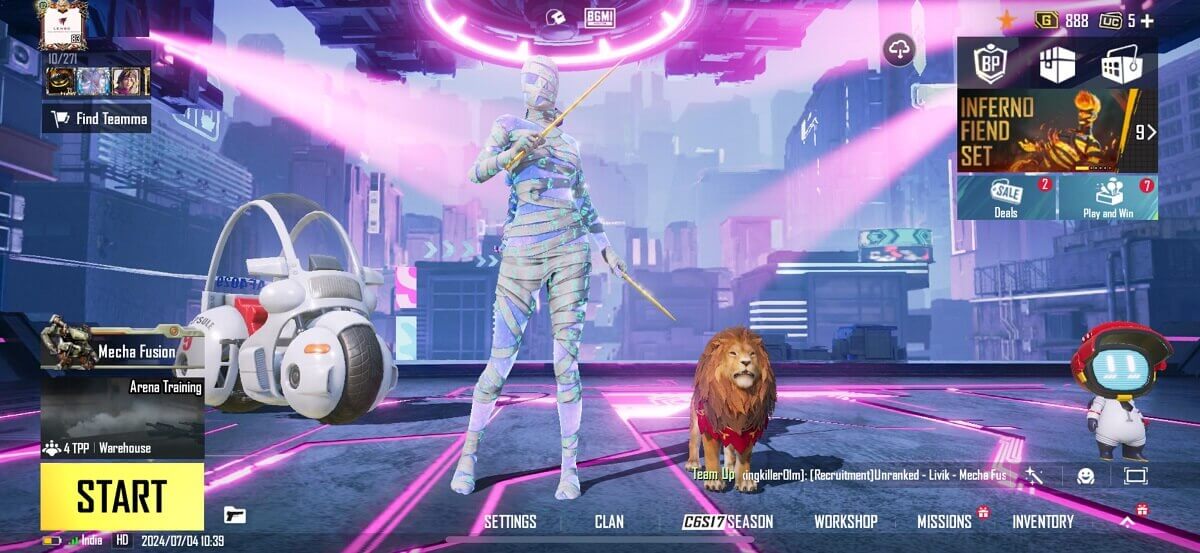
Step 2: Open BGMI and Go to the Matchmaking Menu
- Launch the BGMI app and log in to your account.
- On the main lobby screen, locate the ‘Matchmaking Menu’ on the right-hand side.
Step 3: Select ‘Create Room’
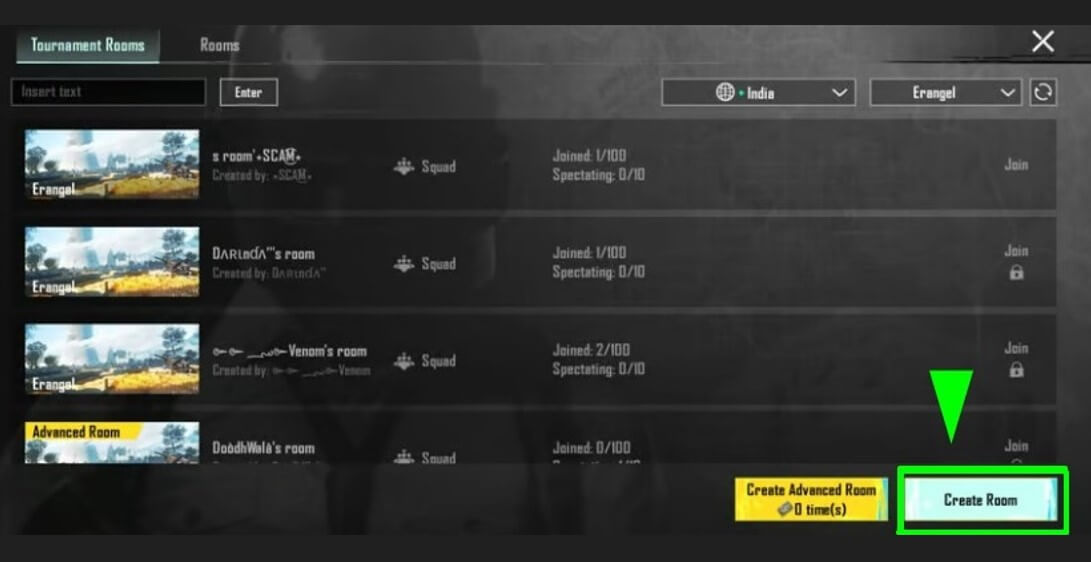
- Tap on the ‘Custom Room’ option.
- Click on ‘Create Room’ to proceed.
Step 4: Customize Your BGMI Custom Room Settings
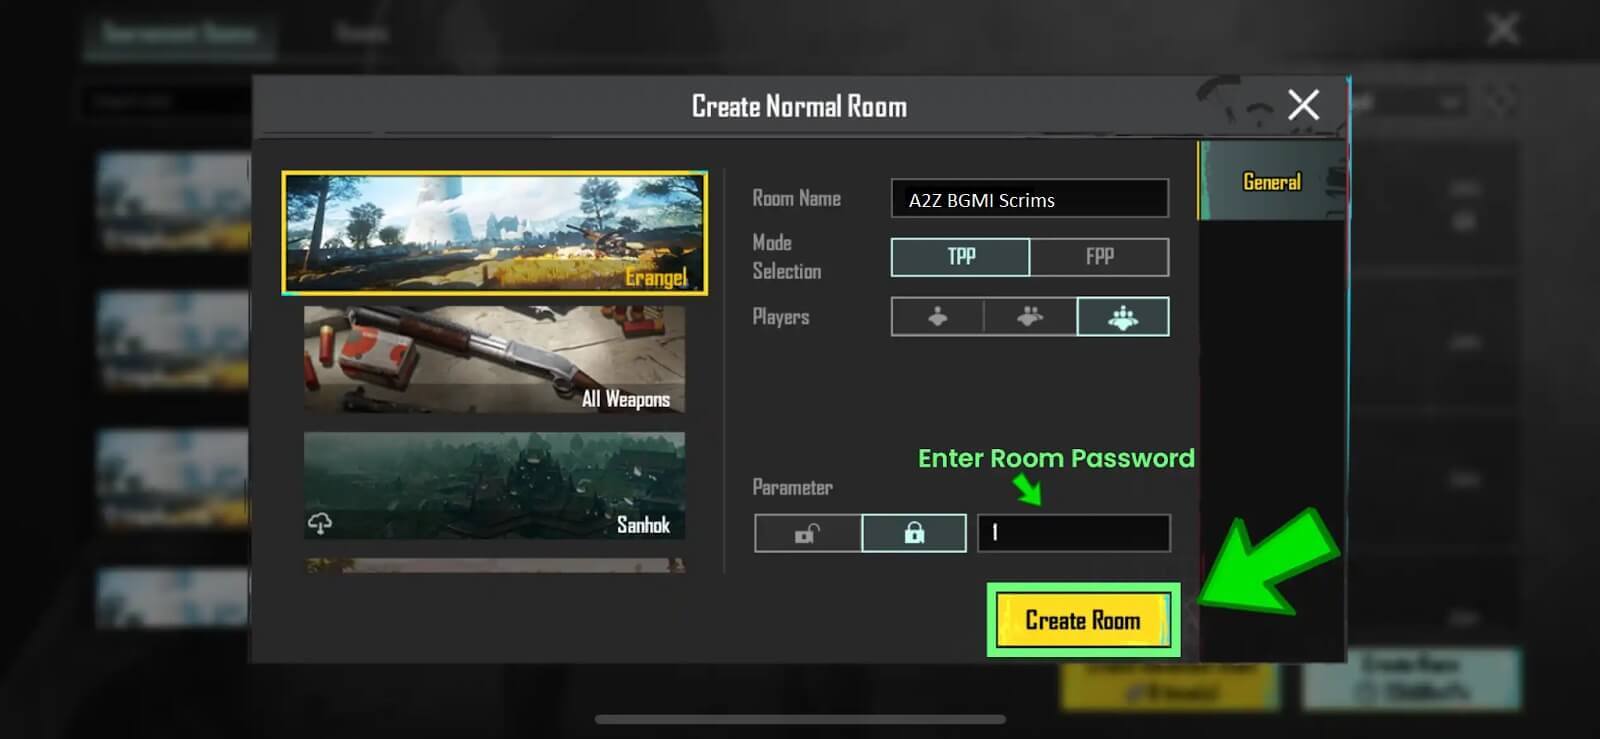
After selecting “Create Room,” you’ll need to configure the room settings:
- Game Mode: Choose between Classic, TDM, Arcade, or other available modes.
- Map Selection: Select the map you want to play on (e.g., Erangel, Miramar, Livik).
- Team Setup: Choose Solo, Duo, or Squad based on your preferences.
- Password (Optional): Set a password to restrict entry to your room.
Step 5: Share Room ID and Password
Once your room is created, a unique Room ID and password (if set) will be generated.
- Share the Room ID and password with your friends or participants.
- To invite players, you can use messaging apps like WhatsApp, Discord, or social media platforms.
Step 6: Start the Match
When all participants have joined the room:
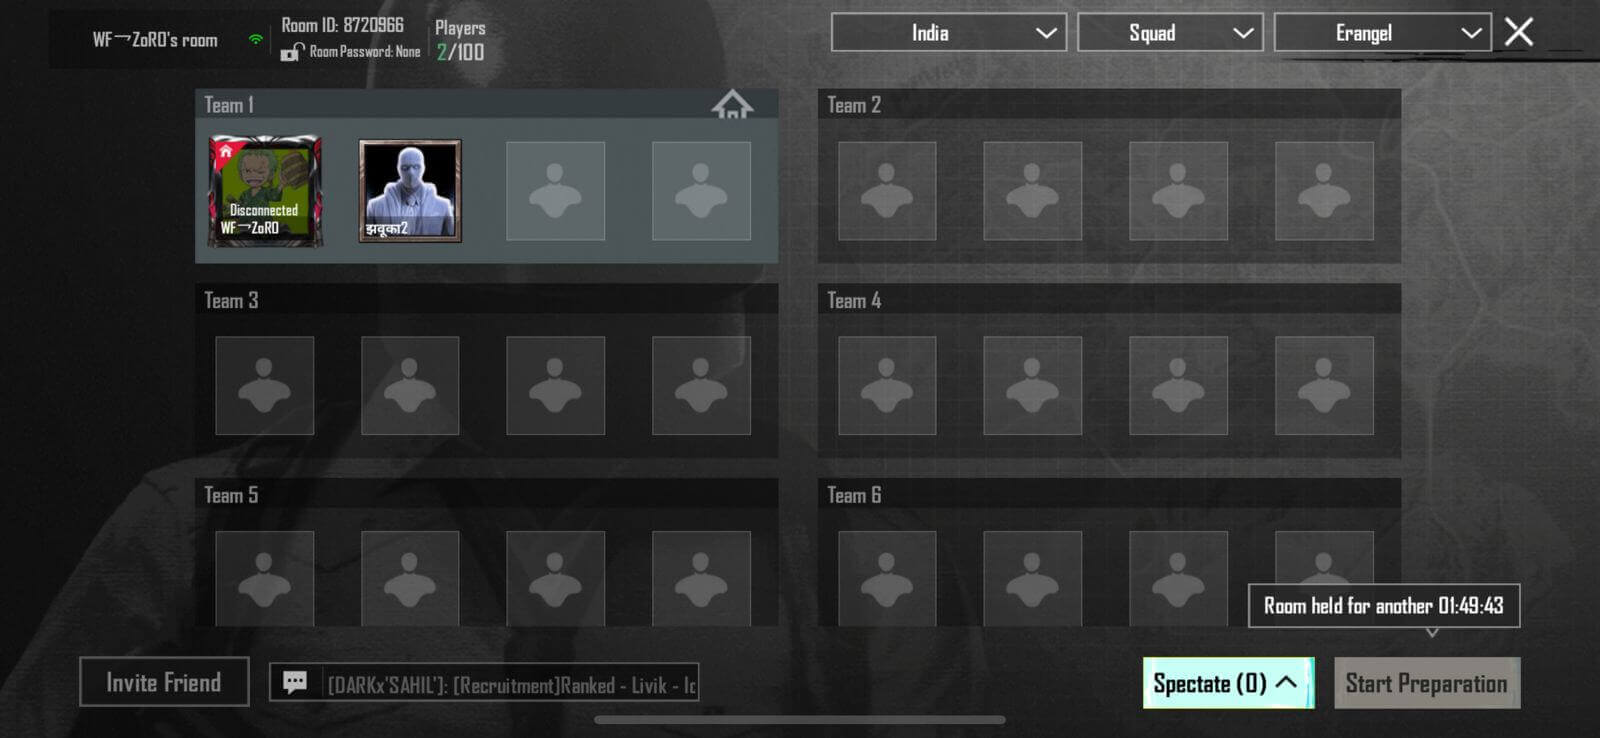
- Confirm that the teams are set up correctly.
- Click on ‘Start Match’ to begin the game.
Step-by-Step Guide to Join a BGMI Custom Room
Joining a custom room is straightforward. All you need is the Room ID (and password if applicable) shared by the room creator. Follow these steps:
Step 1: Open BGMI and Go to the Matchmaking Menu
- Launch BGMI and log in.
- Navigate to the Matchmaking Menu from the main lobby.

Step 2: Tap on ‘Join Room’
- In the Custom Room section, select ‘Join Room.’
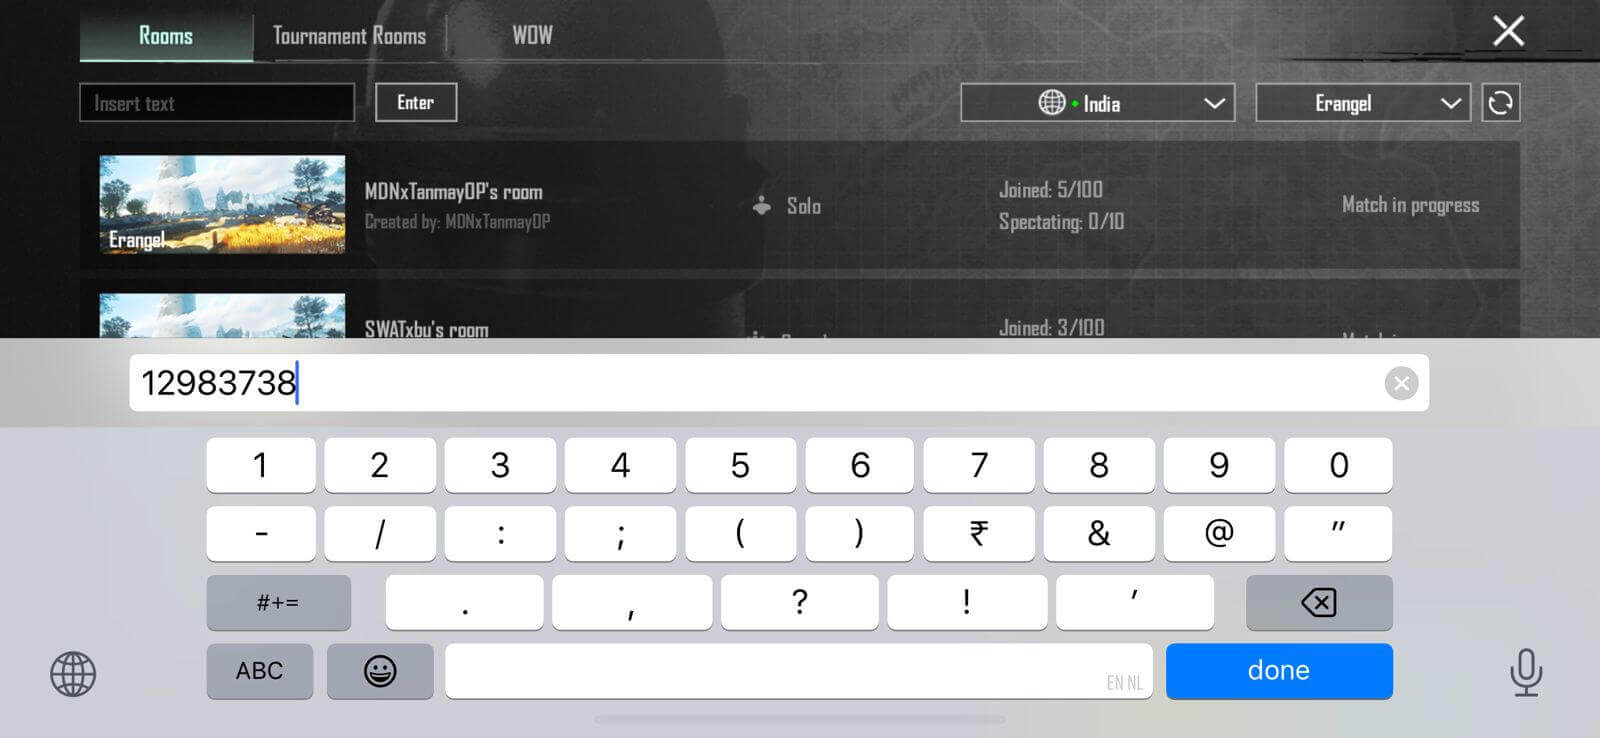
- A dialogue box will appear, asking for the Room ID and password (if applicable).
Step 3: Enter Room ID and Password
- Type in the Room ID shared by the host.
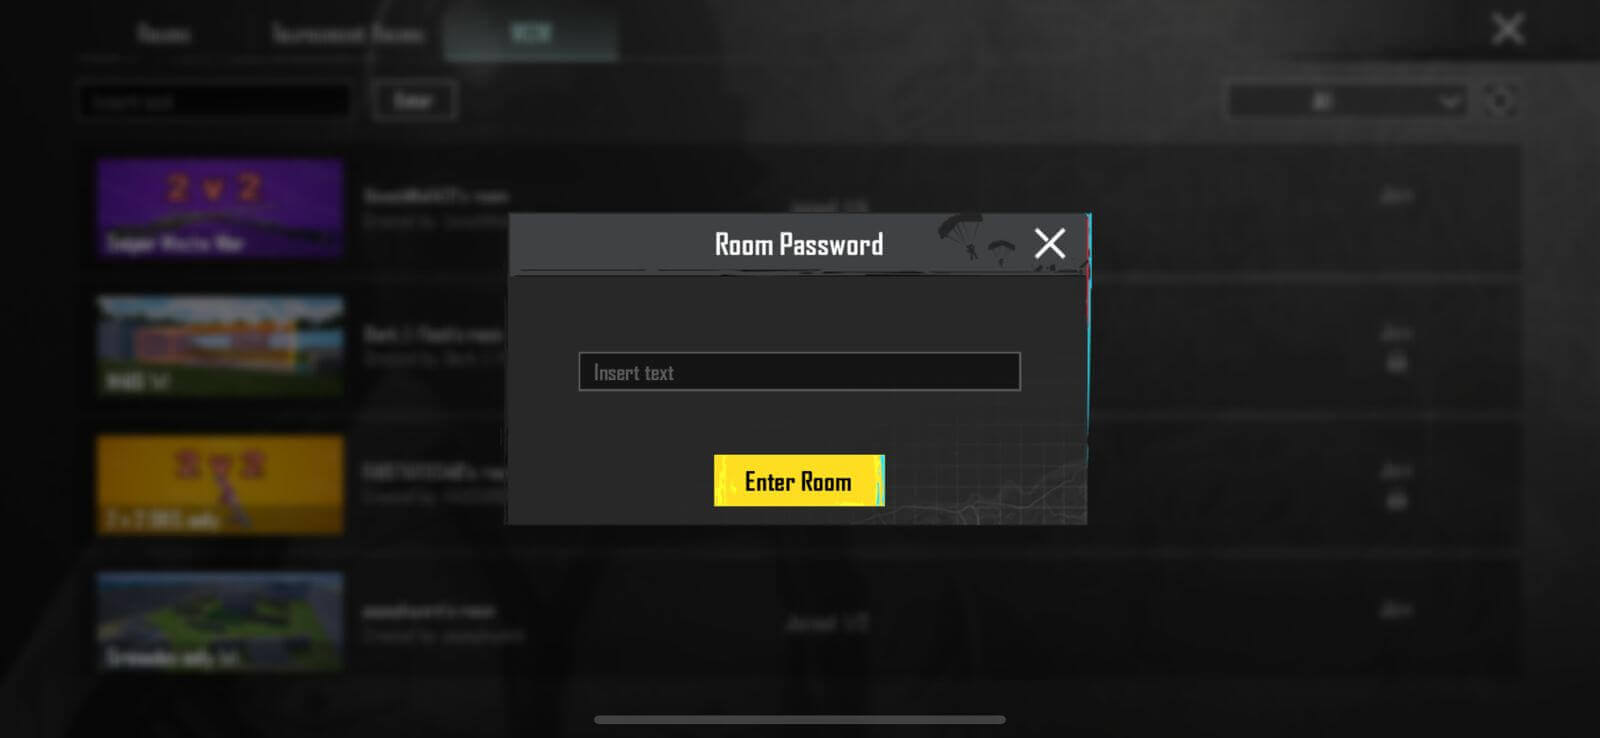
- If the room has a password, enter it to gain access.
- Click ‘OK’ to proceed.
Step 4:
Once inside the BGMI Custom Room:
- Choose a team by tapping on the respective slot.
- You can also create your team if slots are available.
Step 5: Wait for the Match to Start
After joining, wait for the host to start the match. Ensure your internet connection is stable for a smooth experience.
Tips for Using Custom Rooms
- Plan Ahead: Decide the mode, map, and rules beforehand to avoid delays.
- Use Discord or Voice Chat: Coordinate with participants for better communication.
- Optimize Room Settings: Experiment with room settings for creative gameplay experiences, such as snipers-only matches or melee combat.
- Practice Before Tournaments: Custom Rooms are a great way to train with your squad.
Benefits of BGMI Rooms
- Personalized Gameplay: Tailor matches to your liking, including unique rules.
- Practice and Strategy: Hone your skills and test strategies with your squad.
- Community Engagement: Connect with friends, clans, and communities for fun and competitive matches.
BGMI Custom Rooms are a fantastic way to enjoy the game on your terms, bringing a sense of control and creativity to your matches. This feature adds immense value to the gaming experience, whether creating or joining. Follow this guide to make the most of Custom Rooms and elevate your BGMI gameplay to the next level!

